How To: Simple Lazy Susan
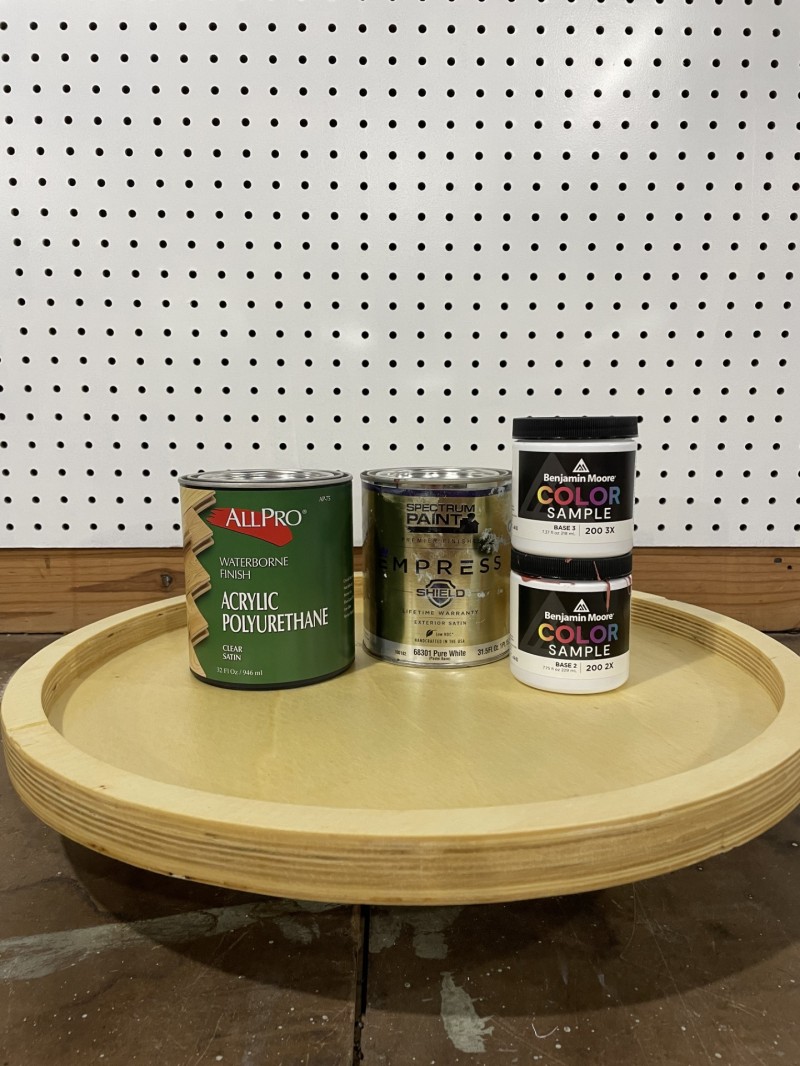
Tools needed:
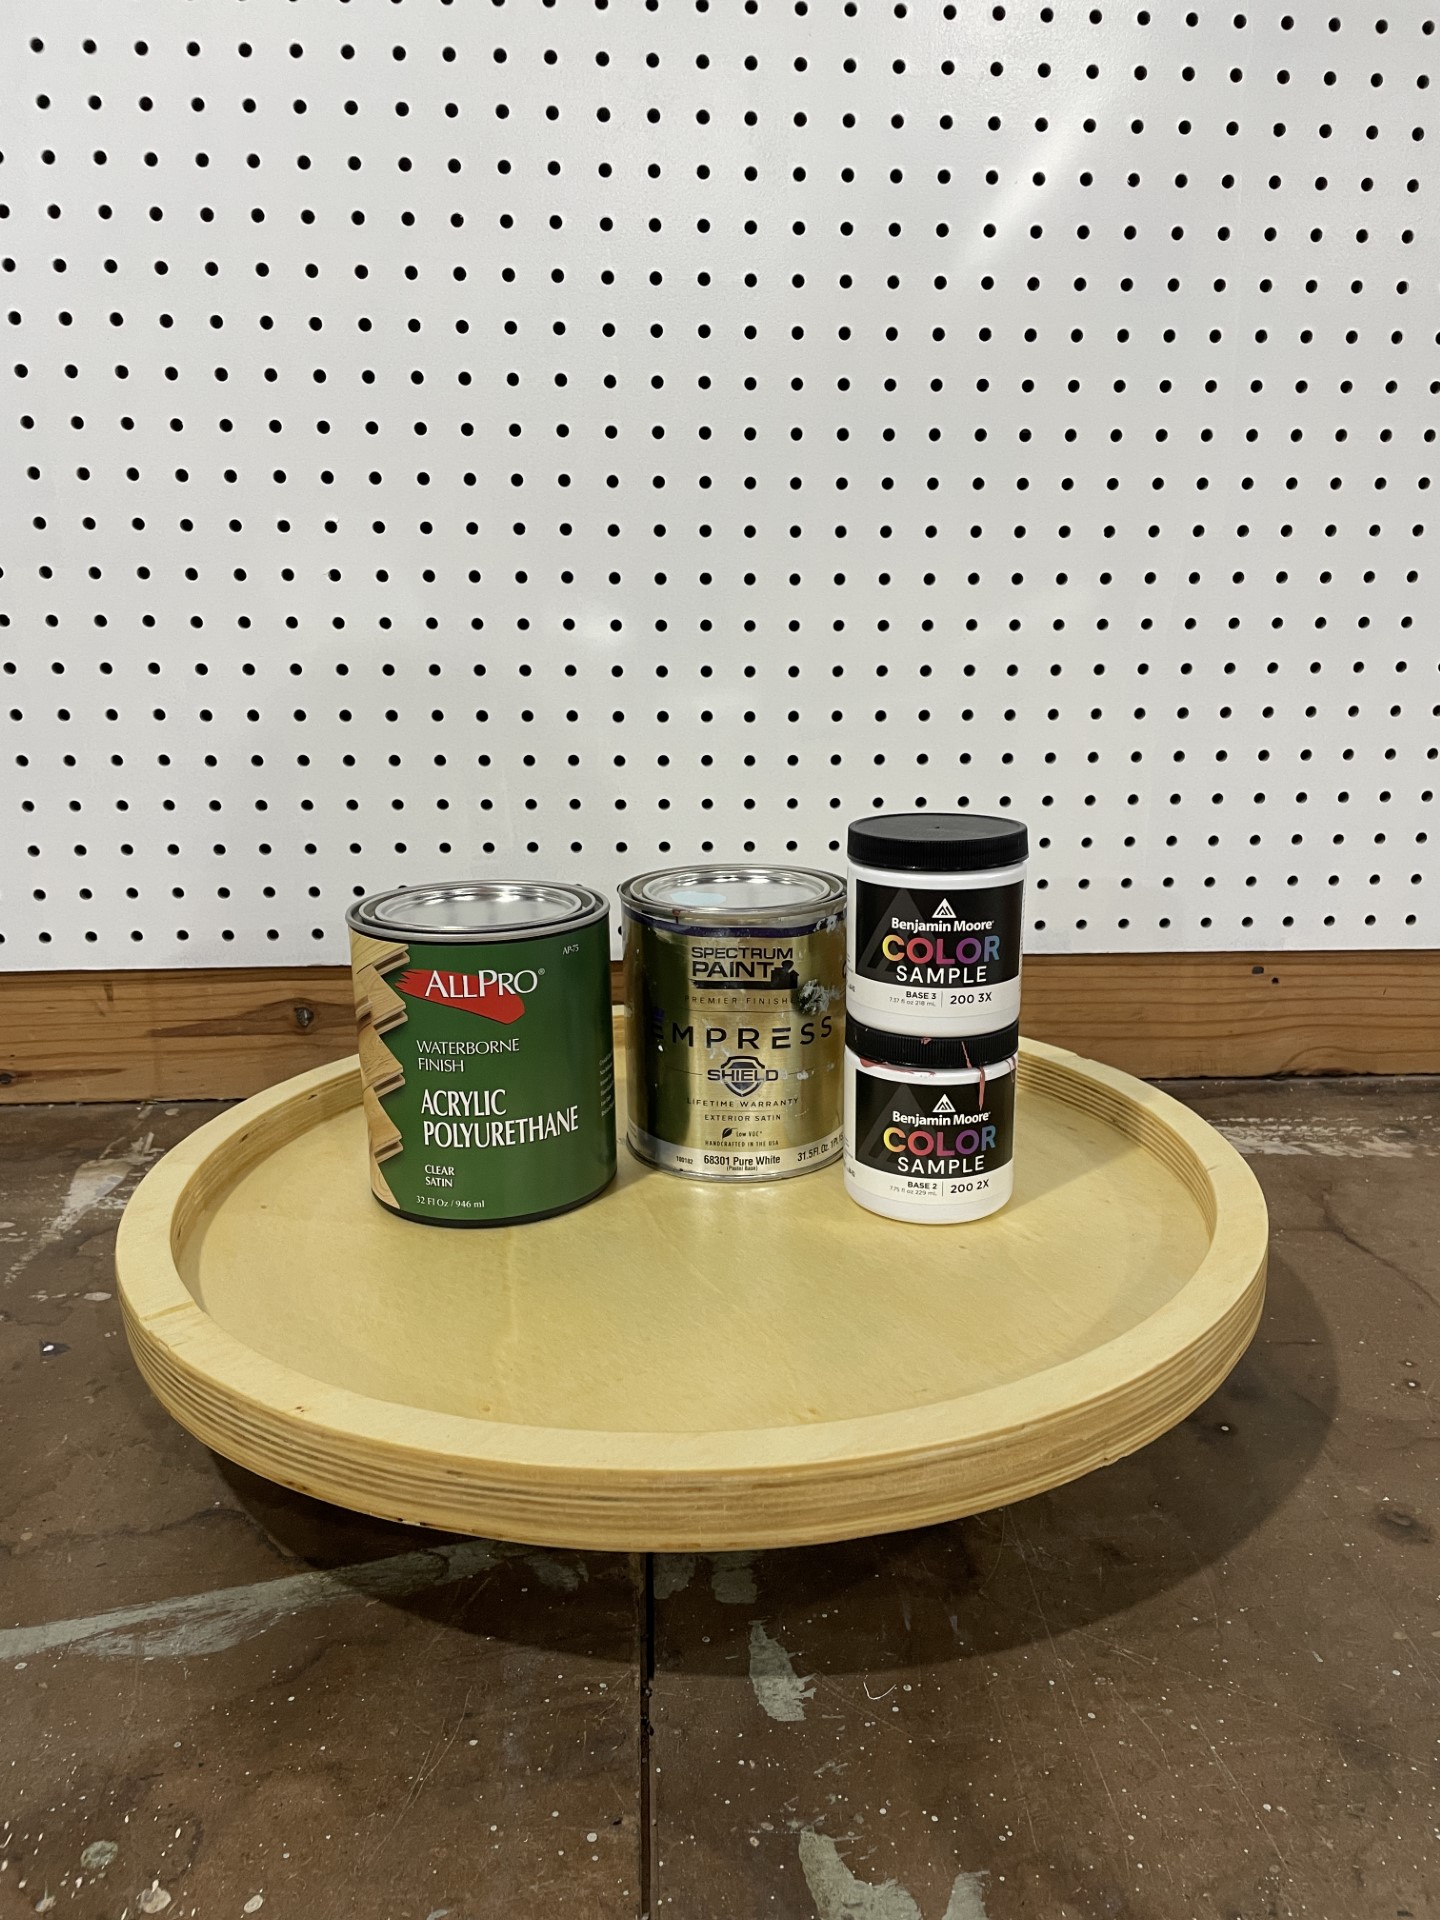
Old Masters Wiping Stain (we used Natural / Tint Base 11104)
Wooden Circle (we used an 18” circle)
Scrap Wood for the Base
Screwdriver or Drill
Screws (8 total)
Optional:
Gloves (to avoid getting stain on hands)
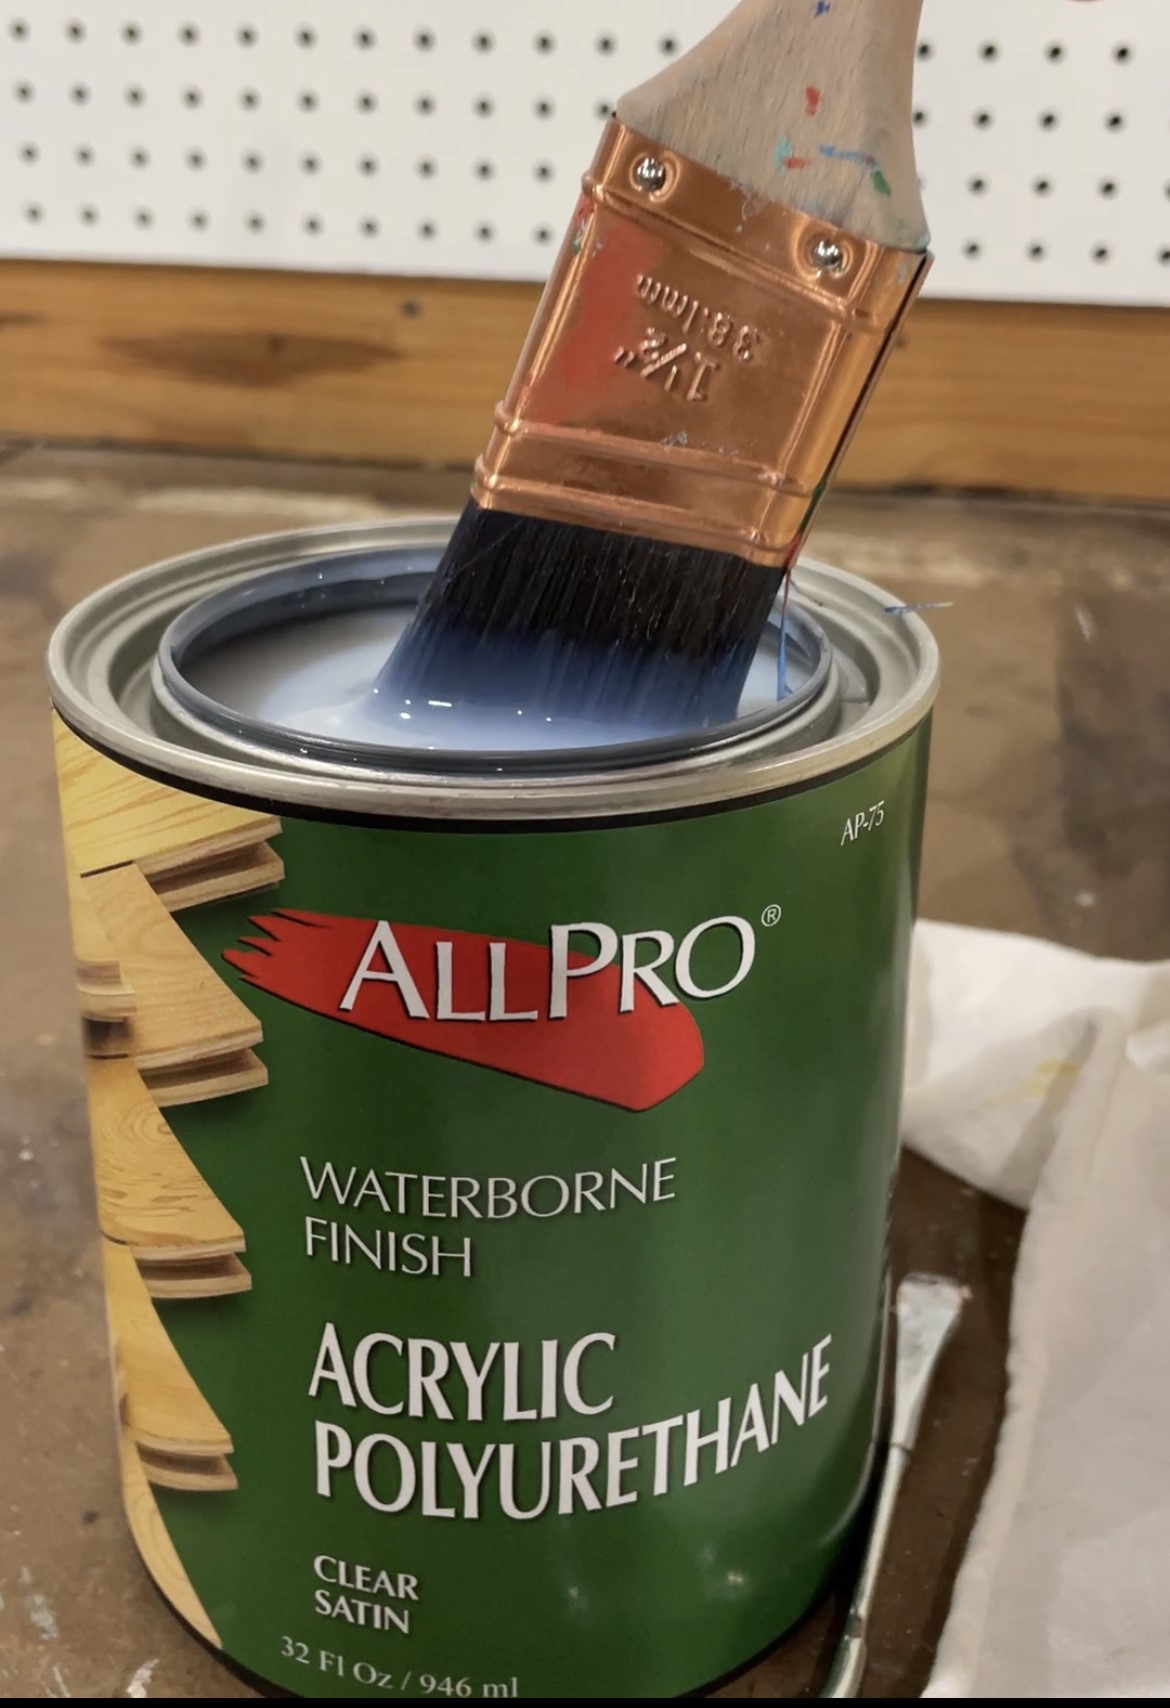
Clear Coat for finish – All Pro Acrylic Polyurethane
Spectrum Paint Rags for Staining
For a video demonstration steps, click here!
1. Stain the Wood.
You are going to begin covering the wood with the stain. We did 3 layers on ours, for a more prominent color. Old Masters Stain is very useful to use, you can open the stain and stir it, and then begin! We used Spectrum Paint cloths for moving the stain across the wood, since we used the wiping stain. We let the wood sit at least 1 hour between coats, just to let it have time to properly soak into the wood.
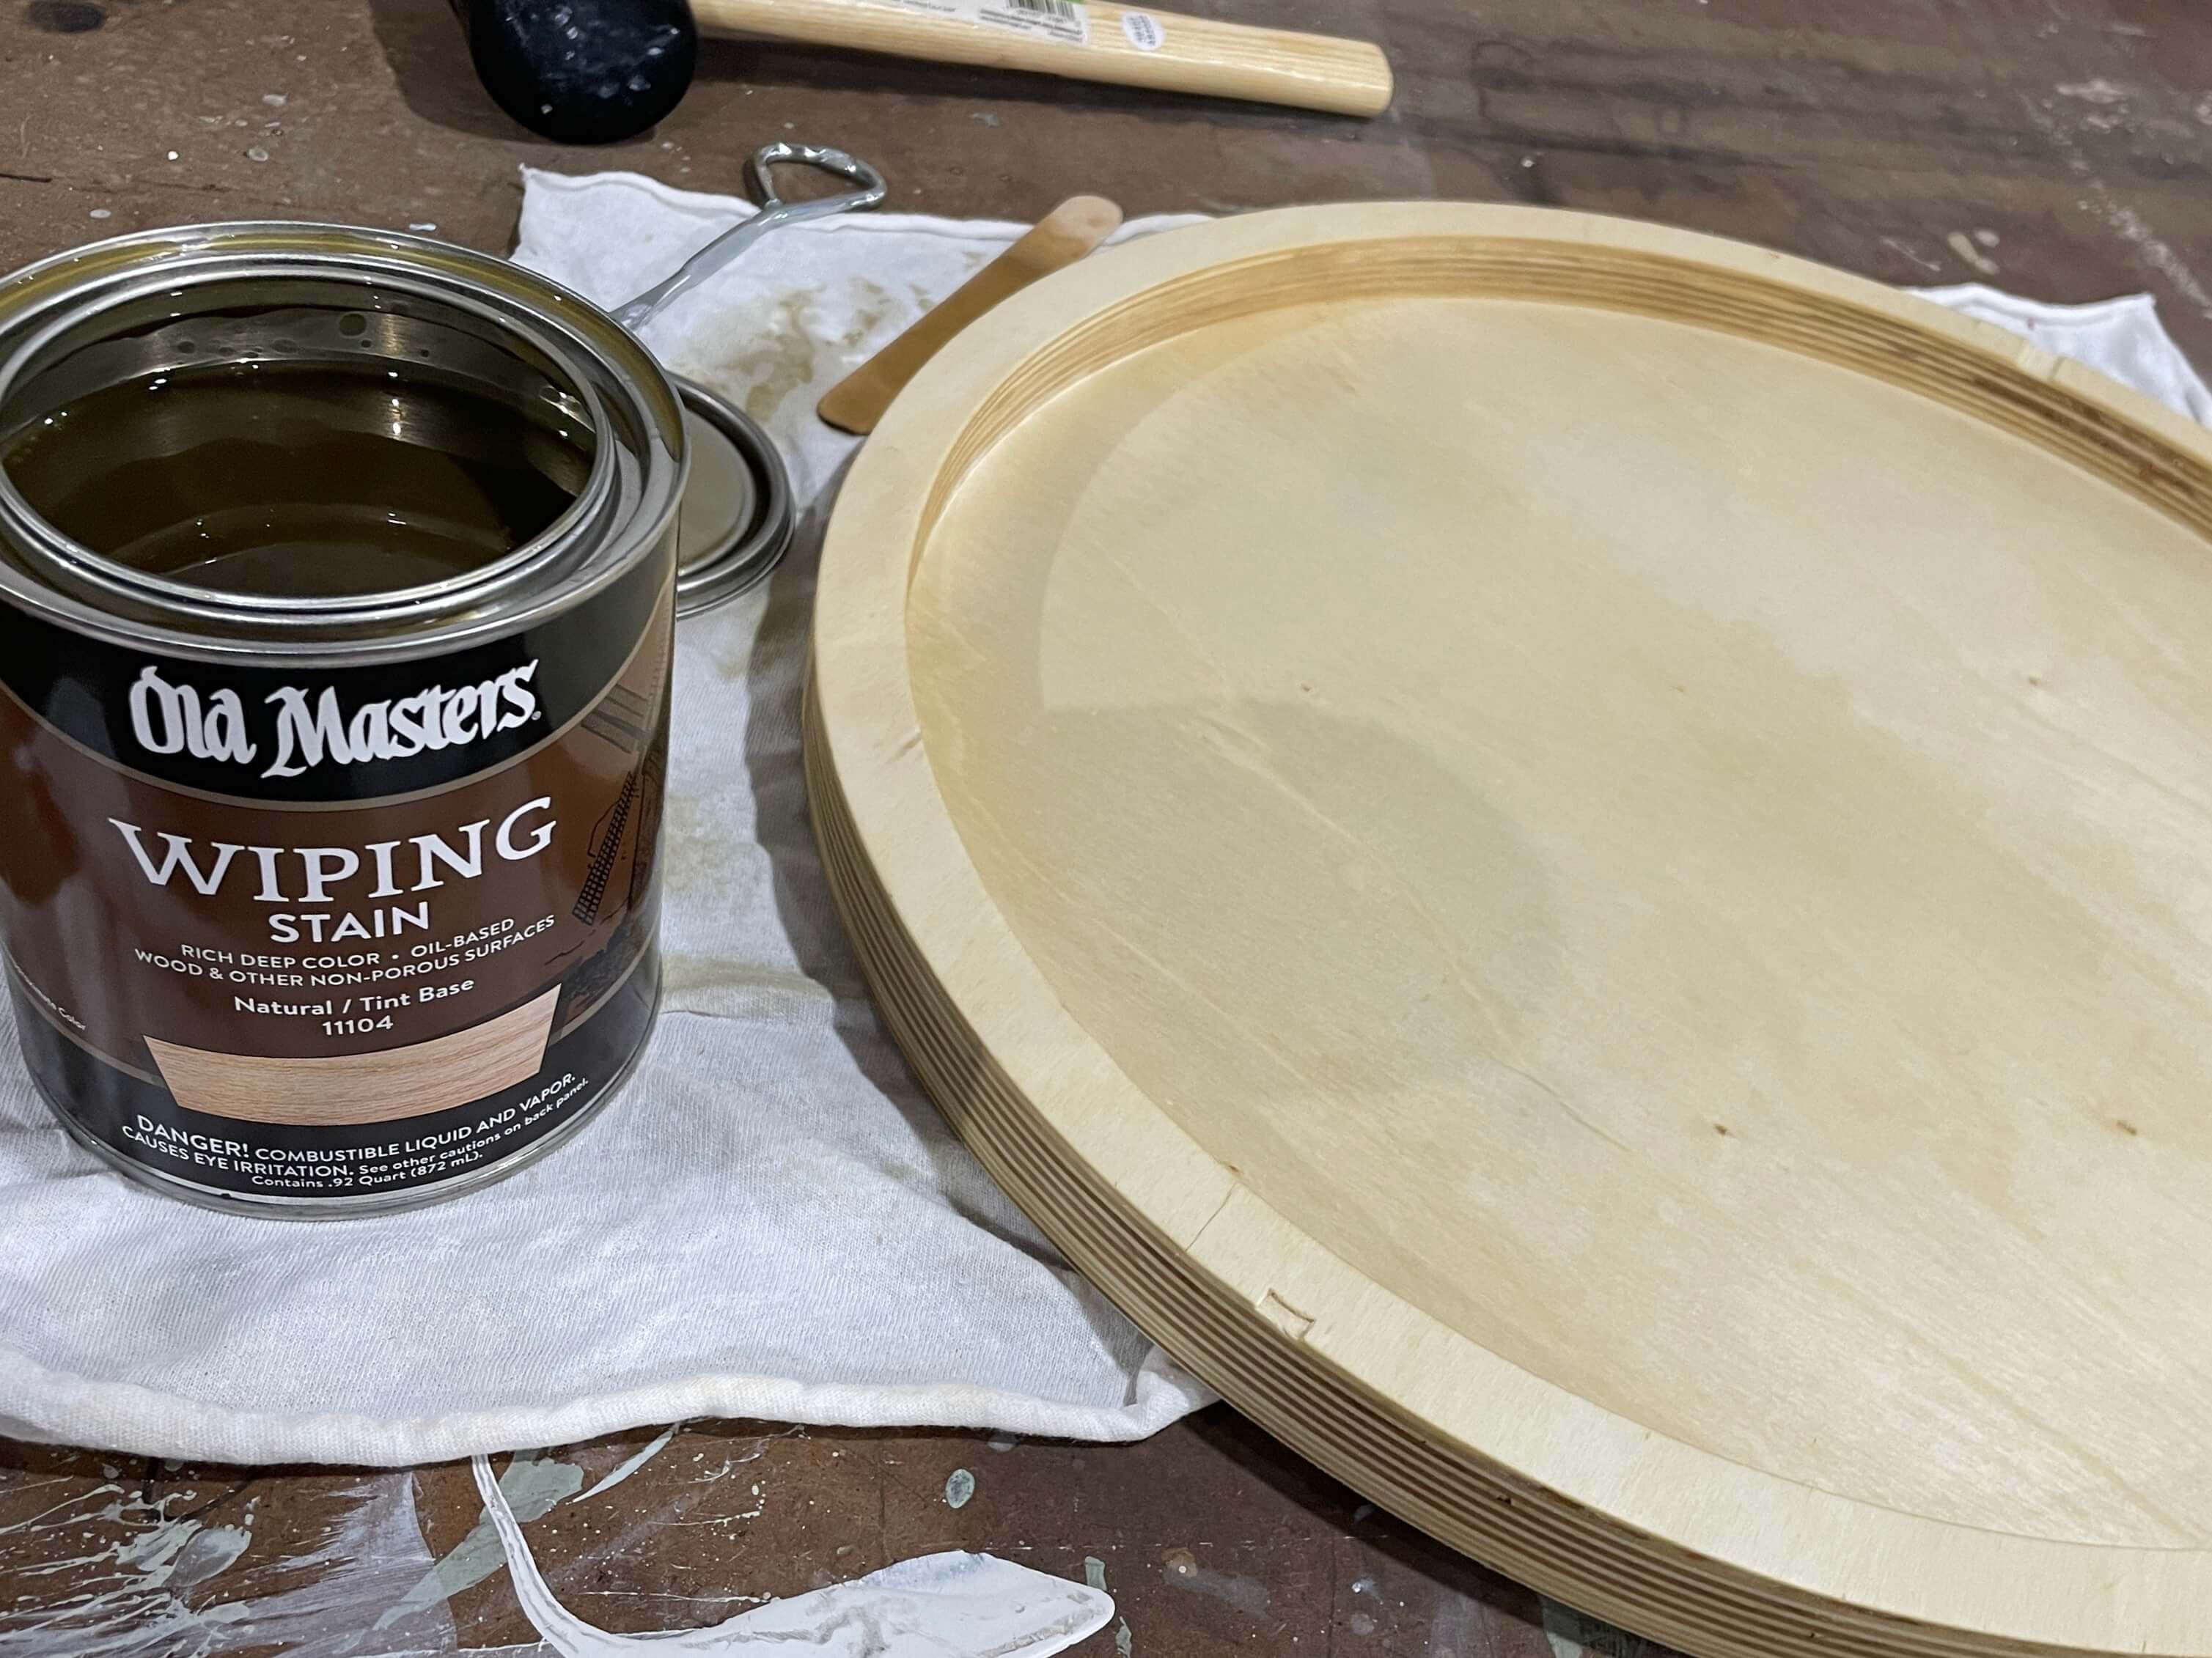
TIP: Make sure to wipe the stain 5-15 minutes after applying to get any excess stain off the wood.
 Pictured above are our stained wood pieces after 2 coats and drying overnight.
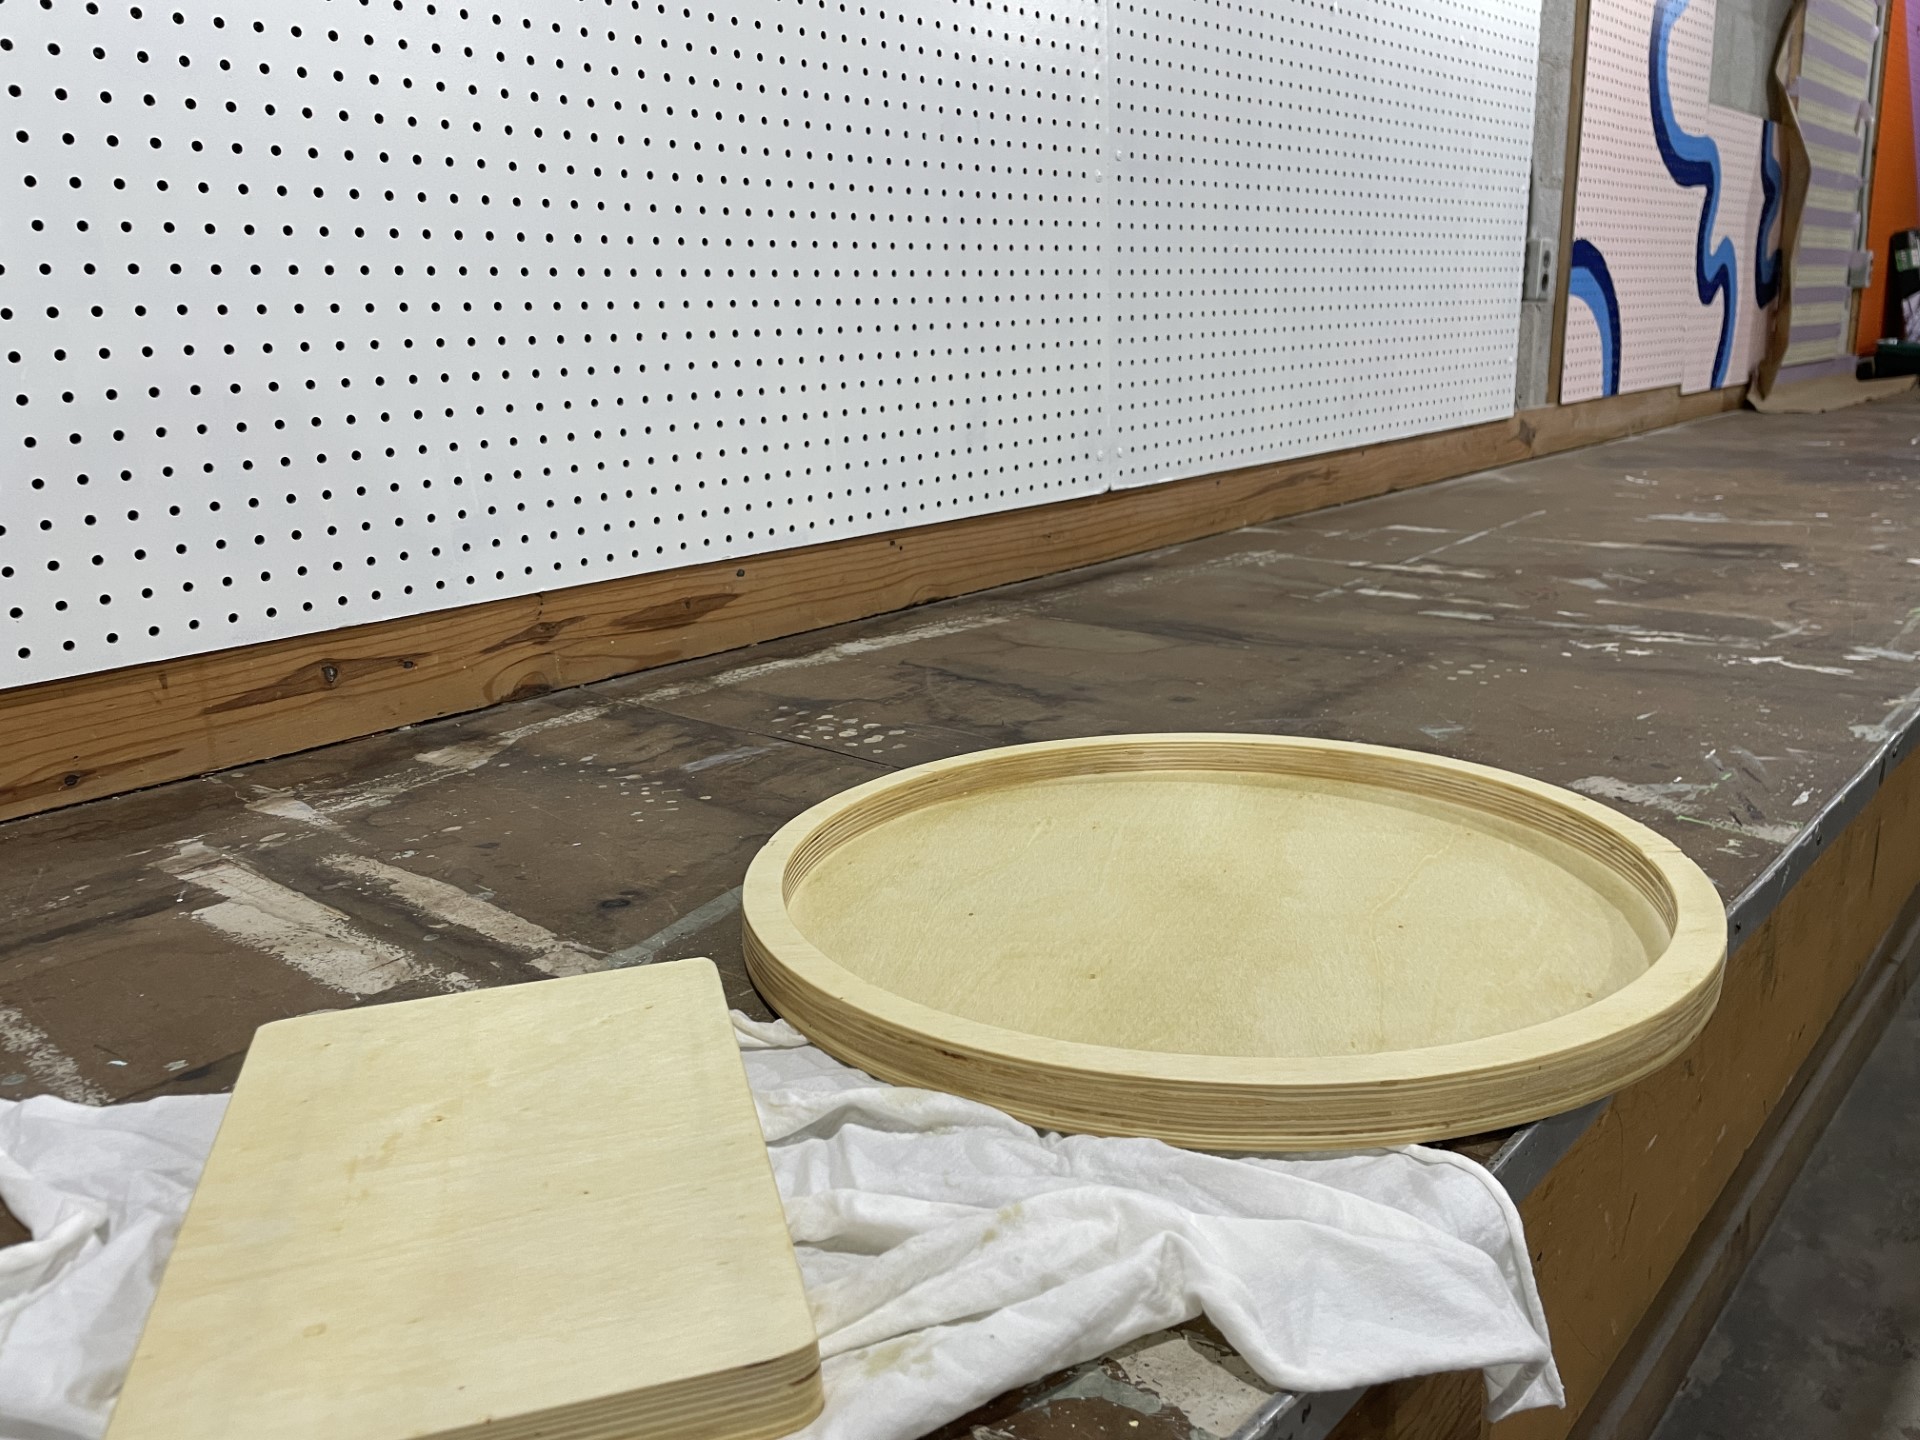
2. Attaching the Hardware.
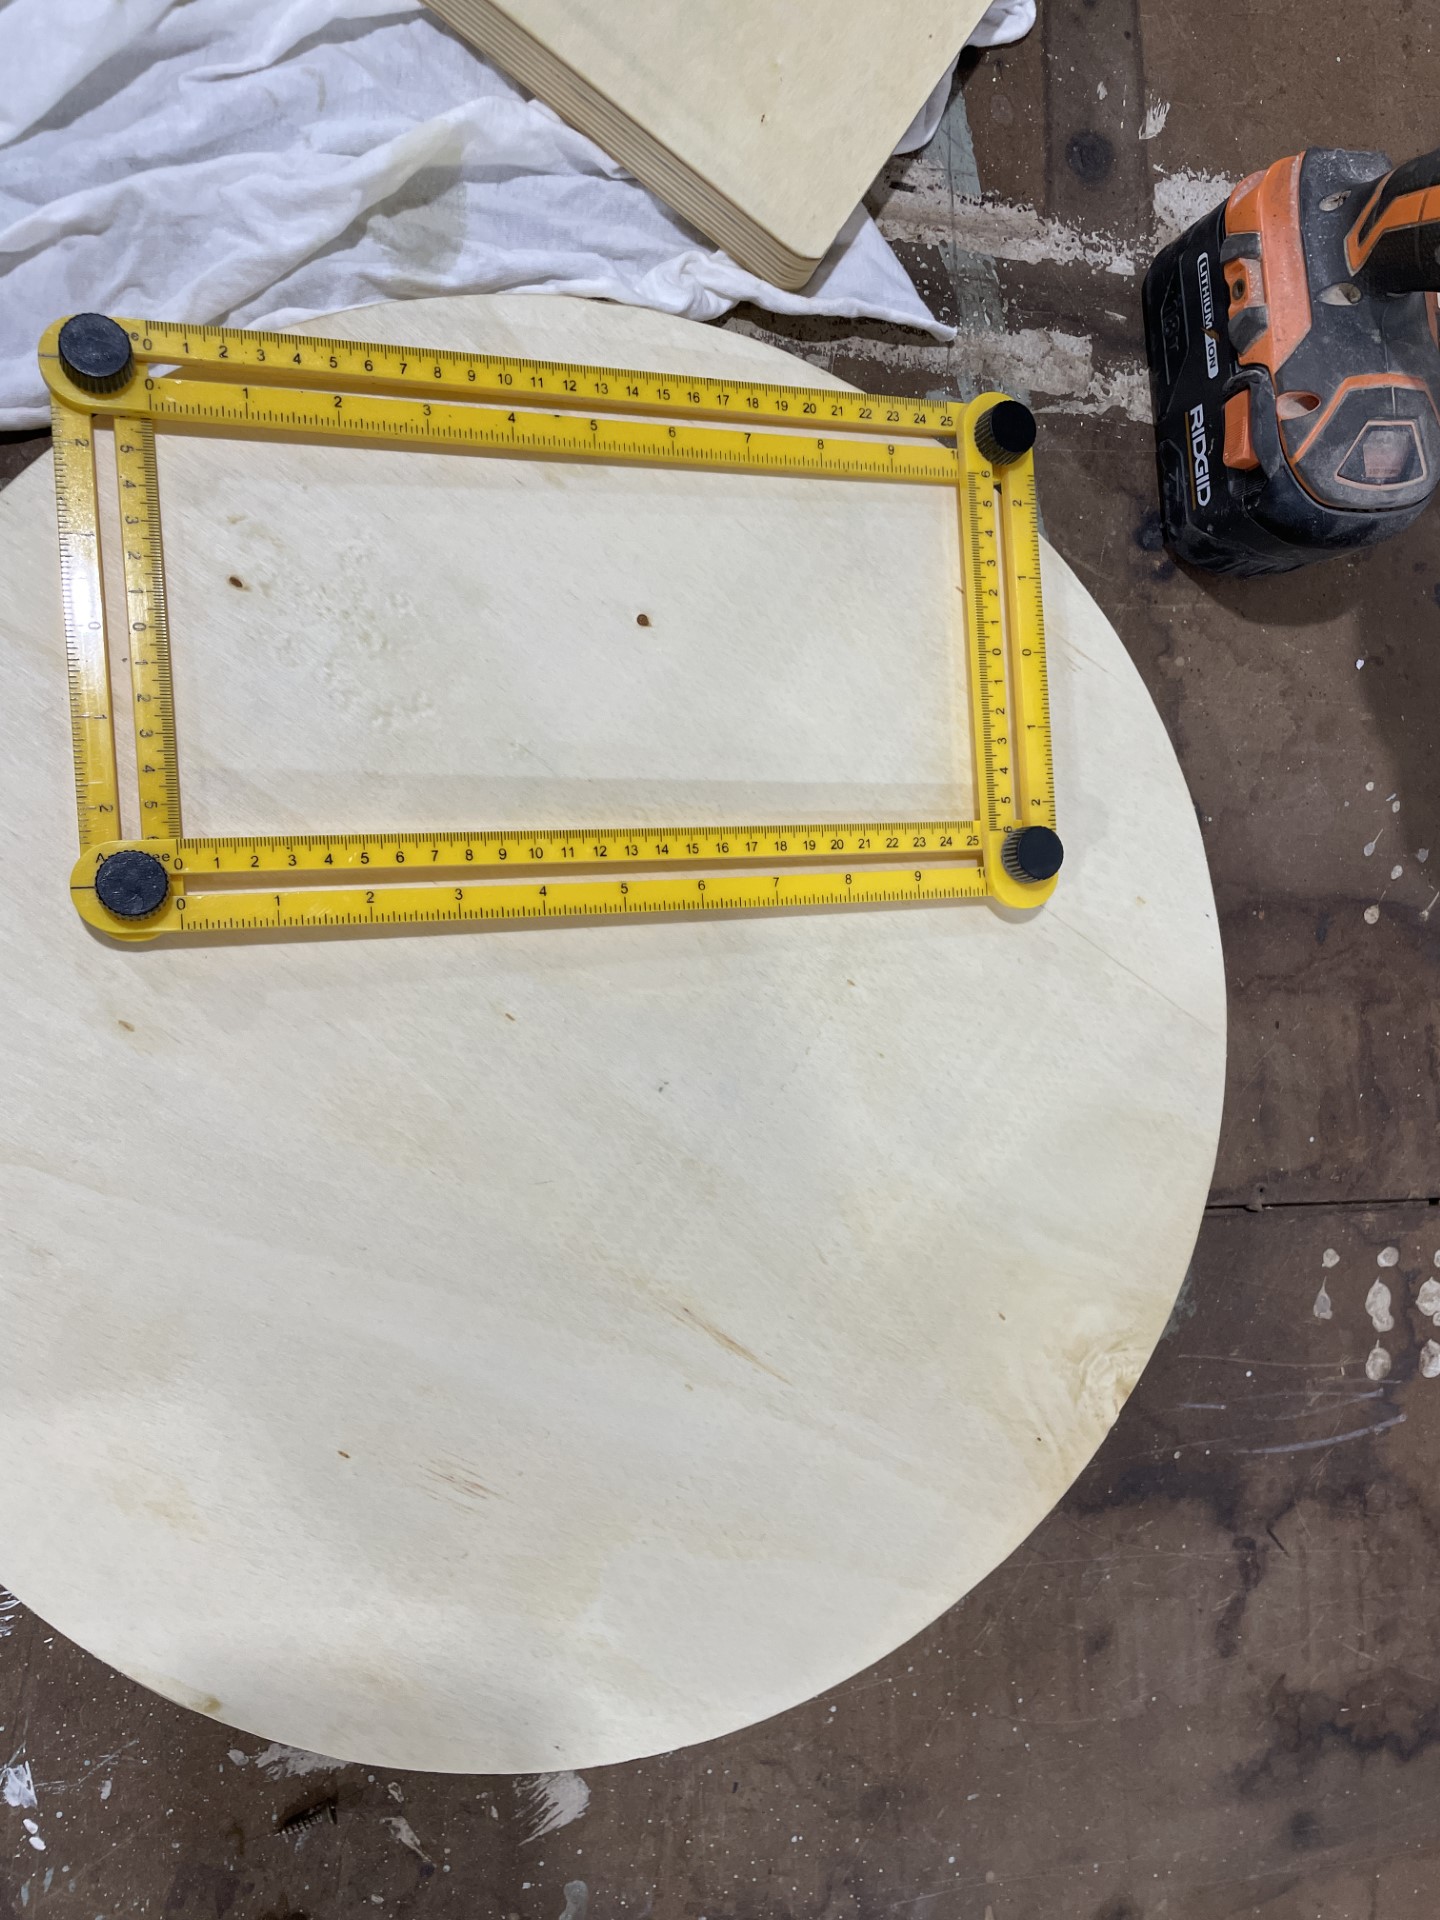
The next thing we did was attach the hardware to the wood so it could become a Lazy Susan! We found our mechanism from Amazon (attached here). We first screwed in the mechanism to the base, the smaller piece of wood. Make sure that the smaller piece of wood is small enough to leave room for the mechanism to attach to the top piece. After those four screws were installed, we began installing the next set of screws. The next set of screws were attached to the wooden circle.
TIP: Make sure the stain is fully dry, we let ours sit over night to give it time to cure.
TIP: We also used a ruler to get our mechanism and base wood piece in the center of the wooden circle. (Pictured above)
3. Sealing the Lazy Susan.
The last step of the Lazy Susan is adding a clear coat to seal the finished product. We used All Pro Acrylic Polyurethane. You should apply the clear coat after the stain has finished fully drying. It will say on the back of the stain container; for example, ours was declared dry after 10 hours. Since we let it sit out overnight, it was all good to go in the morning!
4. Lastly, DECORATE!
Lazy Susan’s can be used for living room décor, kitchen décor, bathroom décor, anywhere you want! They also make great birthday or housewarming gifts!
Pictured, is our finished product.
Ready to make your own Lazy Susan?
Click here to purchase rags for stain.
Click here to purchase a wooden circle.
Click here for the Lazy Susan mechanism.
To find stain and a clear coat, visit your nearest Spectrum Paint location.
Click here for a store locator.
Tips and Tricks:
- If I were to redo this project there are a few things that I would be more aware of, such as: using a thicker piece of wood for the circle, so there are no problems with the screws piercing through the other side.
- I also would make sure and use a smaller piece of scrap wood, one that is roughly the same size as the mechanism that will be attached to it. Our initial piece was too large to add some of the screws, so we had to cut it down some.
- We did end up applying a third coat of stain as well, but that is completely optional.
- We did 2 coats of a clear coat finish.
- It can be beneficial to sand the Susan down some before applying the stain, or even sanding it lightly between stain coats.