Repairing small holes in your wall before painting is an important process! Read below for our take on DAP's steps to patch a small hole.
PROJECT INSTRUCTIONS (1" diameter or less):
1. Surface Preparation and Safety Precautions:
- Before starting your project, the surface must be clean, dry and free of foreign material. Ensure that you have read the package of the spackling product you are using so that you have all materials you need and to be sure of the estimated dry time for your specific situation.
- Carefully review the safety precautions on the package of the product you will be using as well.

2. Mixing and Product Preparation:
- Next, open the spackling product and mix it according to the directions on the package with a clean putty knife before beginning the application process. If the spackling is in a squeeze tube, be sure to knead it accordingly; remove the cap and cut the nozzle according to which size opening you prefer.
- The larger the hole, the faster the spackling will come out; if it is a very small crack or hole, a smaller opening may be preferred.
3. Application:
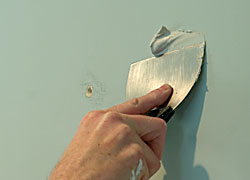
- Begin by scooping or squeezing a quarter-sized amount of spackling onto a clean putty knife and then start to apply the spackling into the hole or crack. To remove any excess from the surface, quickly and firmly press the blade on the putty knife in one fast motion.
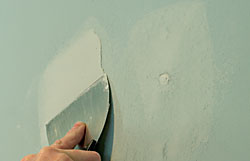
- In order to get a clean, smooth finish after applying the spackling, dip the putty knife into water and apply it over the surface of your spackling.
- If the hole or crack you are filling is small, one coat should be enough; however, if it still appears to be indented or clearly visible, reapplication may be required.

4. Reapplication and Sanding:
- Make sure that in between applications the spackling has completely dried before applying another coat. Dry times will vary depending on the size of the surface or the number of times reapplication was required. You can usually sand or paint the area within 1-5 hours or according to the specific product instructions.
- Sanding may be required when the spackling is not completely smooth to the touch or if the surface is raised higher than the rest of the area. Fine sand paper and using light pressure when applying the sand paper to the area is recommended to ensure the surface is smooth.


5. Cleanup and Proper Storage:
- After you are done with your project, make sure to clean your putty knife immediately with water.
- Check and clean the area for any product that may have fallen to the ground during the sanding process.
- Lastly, close the lid tightly on the product or put the cap back on the tube and store in a cool, dry place out of reach from children and pets.
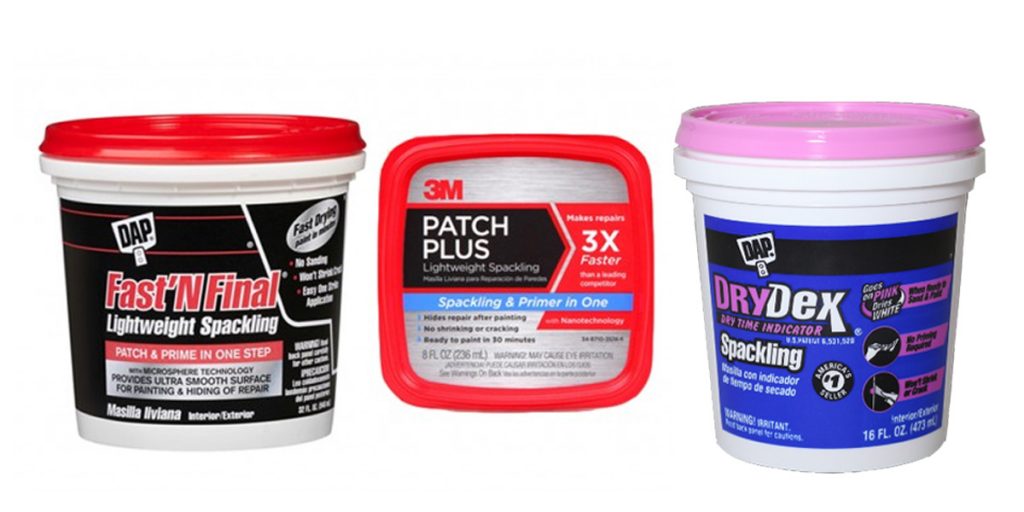
To find out which repair product to use for your project, visit a Spectrum Location near you!
Shop Online Here for in-store pick-up, curbside pick-up or delivery within 5 miles of your neighborhood Spectrum Paint location.


